
Giới thiệu
- Deploy đóng vai trò quan trọng trong quá trình phát triển ứng dụng. Rails đã tích hợp
webpackertừ version~> 6.0để quản lý tài nguyên JavaScript và CSS dễ dàng hơn
- Khi ứng dụng của bạn ngày càng lớn thì việc
assets:precompilesẽ tốn nhiều thời gian và tài nguyên của server. Điều này có thể gây downtime ứng dụng trong quá trình deploy, đặc biệt là trên các servers có tài nguyên hạn chế và workload cao
- Bài viết này giới thiệu về cách dùng local precompile để tối ưu hoá hiệu suất trong quá trình deploy. Chúng ta sẽ tìm hiểu lý do tại sao việc
assets:precompiletrên server có thể gây nên vấn đề và giải pháp đơn giản chỉ là thực hiện precompile tại máy local
Deploy bằng phương pháp mặc định: Precompile trực tiếp trên server
- Bước đầu tiên là tạo mới một ứng dụng Rails
ShellScript
rails _6.0.6.1_ new local_precompile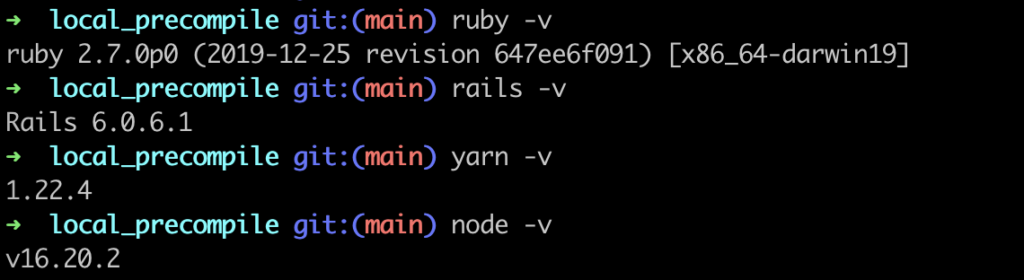
- Kiểm tra xem ứng dụng đã hoạt động chưa
ShellScript
rails s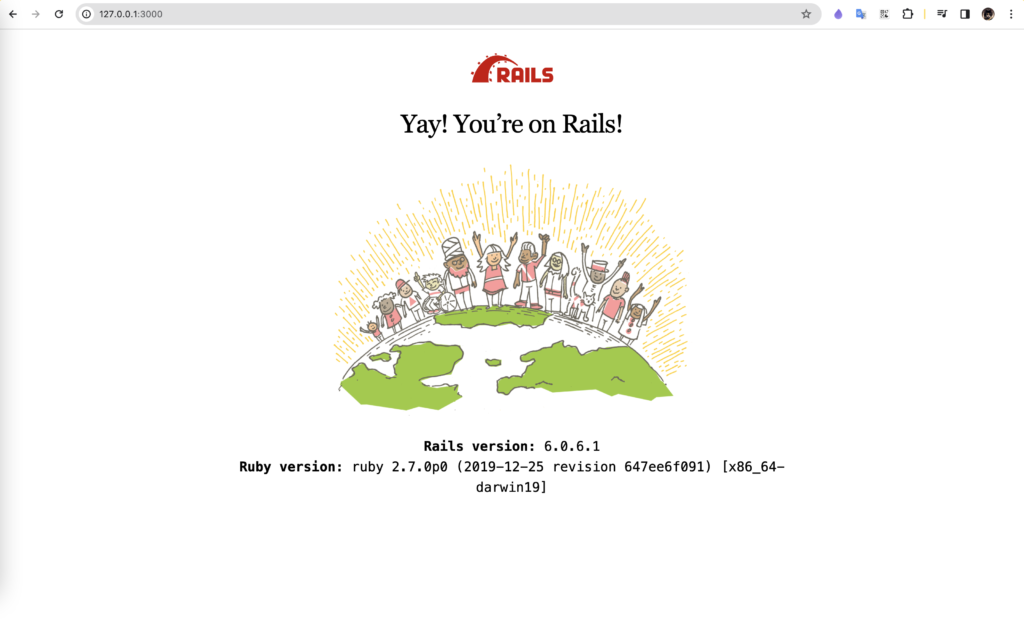
- Thay đổi root path
ShellScript
rails g scaffold post title:string body:textRuby
Rails.application.routes.draw do
  root to: 'posts#index'
  resources :posts
end
- Commit code và push lên Git Repository của bạn
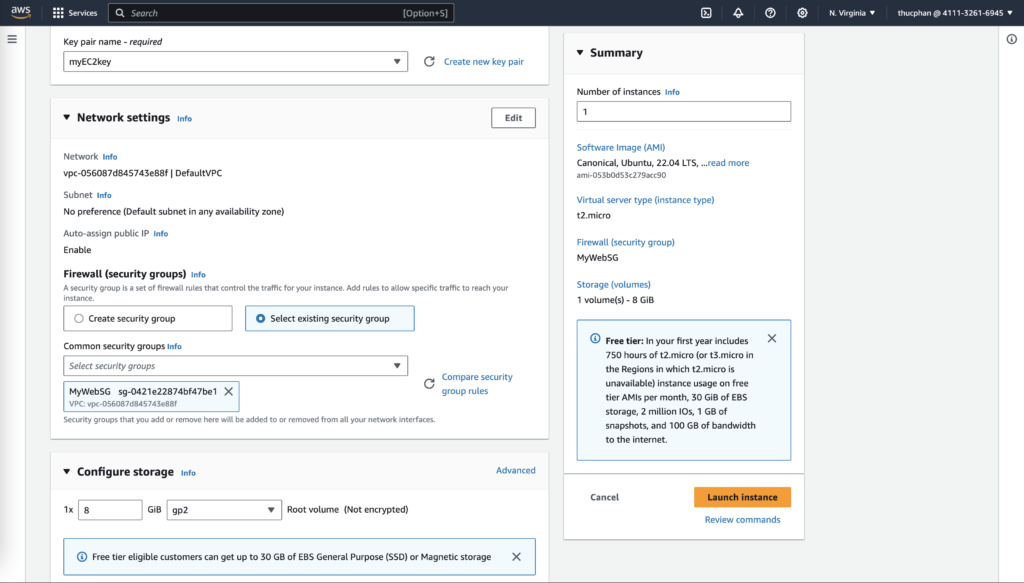
- Tiếp theo mình sẽ Launch Instance và chọn OS là Ubuntu
- SSH vào server và cài đặt
nginxlàm web server
ShellScript
ssh -i ~/path-to-file-key ubuntu@public-ip-address
sudo apt update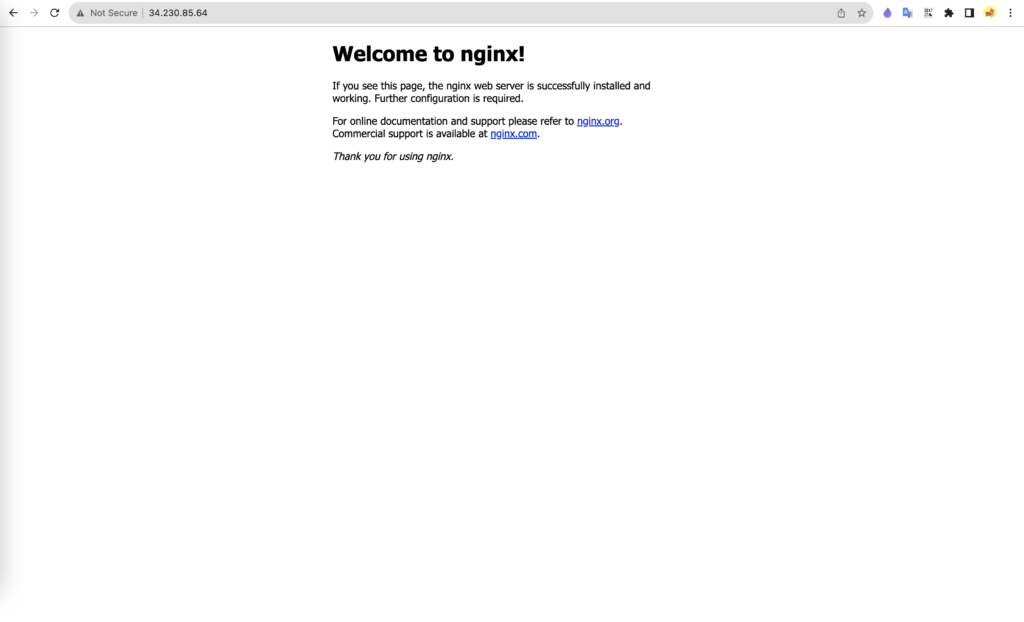
sudo apt install nginx- Sau khi cài đặt
nginxvà mở được trang “Welcome to nginx!” trên trình duyệt bằng public-ip-address thì bạn đã hoàn thành nhiệm vụ 🤣
- Tiếp theo, bạn cần cài đặt các packages cần thiết để ứng dụng Rails hoạt động được trên server
- Đảm bảo cài đặt đúng version Ruby, Rails, Yarn, Node… mà bạn đã sử dụng để chạy ứng dụng ở máy local (điều này giúp tránh những lỗi không cần thiết liên quan đến version)
- Quay lại ứng dụng Rails và cấu hình deploy bằng Capistrano. Cài đặt các gems cần thiết
Ruby
group :development do
  # Capistrano - easy to deployment with Ruby over SSH
  gem 'capistrano', '~> 3.18'
  # rbenv integration for Capistrano
  gem 'capistrano-rbenv', '~> 2.2'
  # Rails specific Capistrano tasks
  gem 'capistrano-rails', '~> 1.6', '>= 1.6.3'
  # Bundler support for Capistrano 3.x
  gem 'capistrano-bundler', '~> 2.1'
  # based on capistrano/npm gem
  gem 'capistrano-yarn', '~> 2.0', '>= 2.0.2'
  # nvm support for Capistrano 3.x
  gem 'capistrano-nvm', '~> 0.0.7'
end
ShellScript
bundle install
cap install- Sau khi hoàn thành hai lệnh trên, hệ thống sẽ tự động tạo các files cần thiết để hỗ trợ deploy ứng dụng. Chỉnh sửa nội dụng các files sau
config/deploy/production.rb
Ruby
server "public-ip-address", user: "ubuntu", roles: %w{app db web}

set :ssh_options,
    forward_agent: true,
    auth_methods: %w[publickey],
    keys: %w[~/path-to-your-key]

set :branch, :main

set :rails_env, :production
config/deploy.rb
Ruby
# config valid for current version and patch releases of Capistrano
lock "~> 3.18.0"

set :application, "local_precompile"
set :repo_url, "your-repo-url"

# Default deploy_to directory is /var/www/my_app_name
set :deploy_to, "/home/ubuntu/sites/local_precompile"

# Default value for :pty is false
set :pty, true

# Default value for :linked_files is []
append :linked_files, "config/master.key"

# Default value for linked_dirs is []
append :linked_dirs, "log", "tmp/pids", "tmp/cache", "tmp/sockets", "public/system", "vendor", "storage"

# Default value for default_env is {}
set :default_env, { "PATH": "/home/ubuntu/.nvm/versions/node/v16.20.2/bin:$PATH" }

set :puma_pid, shared_path.join('tmp/pids/server.pid')

set :puma_bind, "unix://#{shared_path.join('tmp/sockets/puma.sock')}"

set :puma_config_path, -> { File.join(current_path, 'config', 'puma', "#{fetch(:rails_env)}.rb") }- Thêm các modules cần thiết vào
/Capfile
Ruby
require "capistrano/rbenv"
set :rbenv_type, :user
set :rbenv_ruby, "2.7.0"
set :rbenv_map_bins, %w[rake gem bundle ruby rails]
set :rbenv_roles, :all

require "capistrano/bundler"
require "capistrano/rails/assets"
require "capistrano/rails/migrations"

require "capistrano/yarn"
set :yarn_flags, '--frozen-lockfile'

require "capistrano/nvm"
set :nvm_type, :user
set :nvm_node, "v16.20.2"
set :nvm_map_bins, %w[node npm yarn]- Tạo một file puma configuration cho môi trường production như sau
config/puma/production.rb
Ruby
# Puma can serve each request in a thread from an internal thread pool.
# The `threads` method setting takes two numbers: a minimum and maximum.
# Any libraries that use thread pools should be configured to match
# the maximum value specified for Puma. Default is set to 5 threads for minimum
# and maximum; this matches the default thread size of Active Record.
#
max_threads_count = ENV.fetch("RAILS_MAX_THREADS") { 5 }
min_threads_count = ENV.fetch("RAILS_MIN_THREADS") { max_threads_count }
threads min_threads_count, max_threads_count

# Specifies the `port` that Puma will listen on to receive requests; default is 3000.
#
port ENV.fetch("PORT") { 3000 }

# Specifies the `environment` that Puma will run in.
#
environment "production"

# Specifies the `pidfile` that Puma will use.
pidfile ENV.fetch("PIDFILE") { "tmp/pids/server.pid" }

tmp_path = "#{File.expand_path('../../..', __FILE__)}/tmp"
bind "unix://#{tmp_path}/sockets/puma.sock"

log_path = "#{File.expand_path('../../..', __FILE__)}/log"
stdout_redirect "#{log_path}/puma.stdout.log", "#{log_path}/puma.stderr.log", true

# Specifies the number of `workers` to boot in clustered mode.
# Workers are forked web server processes. If using threads and workers together
# the concurrency of the application would be max `threads` * `workers`.
# Workers do not work on JRuby or Windows (both of which do not support
# processes).
#
# workers ENV.fetch("WEB_CONCURRENCY") { 2 }

# Use the `preload_app!` method when specifying a `workers` number.
# This directive tells Puma to first boot the application and load code
# before forking the application. This takes advantage of Copy On Write
# process behavior so workers use less memory.
#
preload_app!

# Allow puma to be restarted by `rails restart` command.
plugin :tmp_restart- Tạo một file puma rake task như sau
lib/capistrano/tasks/puma.rake
Ruby
namespace :puma do
  desc 'Start puma'
  task :start do
    on roles(:app) do
      within current_path do
        execute :bundle, 'exec', 'puma', '--config', "#{fetch(:puma_config_path)}", '--daemon'
      end
    end
  end

  desc 'Restart puma'
  task :restart do
    on roles(:app) do
      within current_path do
        if test("[ -f #{shared_path}/tmp/pids/server.pid ]")
          execute :bundle, :exec, :pumactl, '-P', fetch(:puma_pid), 'restart', '--config', fetch(:puma_config_path)
        else
          invoke 'puma:start'
        end
      end
    end
  end

  desc 'Stop puma'
  task :stop do
    on roles(:app) do
      within current_path do
        execute :bundle, :exec, 'pumactl', '-P', fetch(:puma_pid), 'stop'
      end
    end
  end
end

namespace :load do
  task :defaults do
    after 'deploy:publishing', 'puma:restart'
  end
end- Thêm cấu hình cho
nginx
ShellScript
sudo vi /etc/nginx/conf.d/local_precompile.confShellScript
upstream local_precompile {
  server unix:///home/ubuntu/sites/local_precompile/shared/tmp/sockets/puma.sock;
}

server {
  listen 80;
  server_name 54.196.84.135;

  root /home/ubuntu/sites/local_precompile/current/public;
  try_files $uri/index.html $uri @puma;

  location @puma {
    proxy_pass http://unix:/home/ubuntu/sites/local_precompile/shared/tmp/sockets/puma.sock;
    proxy_set_header Host $host;
    proxy_set_header X-Real-IP $remote_addr;
    proxy_set_header X-Forwarded-For $proxy_add_x_forwarded_for;
    proxy_set_header X-Forwarded-Proto $scheme;
  }
}
ShellScript
sudo service nginx restart- Khi tất cả đã được thiết lập xong thì chạy lệnh sau để deploy
ShellScript
cap production deploy- Trong những lần deploy đầu chắc chắn sẽ có những lỗi nhỏ, tuỳ trường hợp mà các bạn có thể tự xử lý nhé 🤣

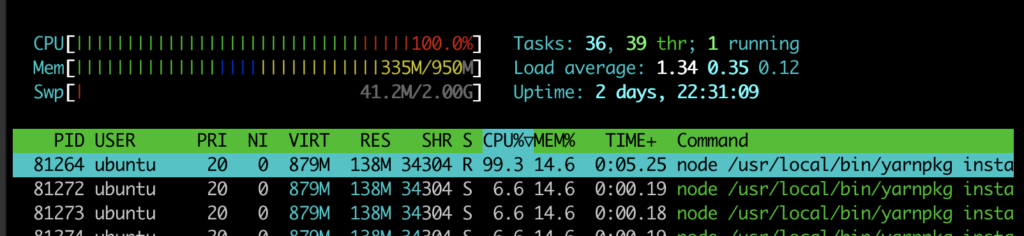
- Quan sát
htoptrong quá trình deploy, có thể thấy workload của CPU và Memory tăng cao rõ rệt trong lúc thực hiệnyarn:installvàdeploy:assets:precompile
- Đó là nguyên nhân chính có thể gây downtime ứng dụng
Dùng Local Precompile
- Phát hiện vấn đề chính nằm ở
yarn:installvàdeploy:assets:precompile
- Tiếp theo chúng ta cần chuyển hai tác vụ này về xử lý ở máy local, sau đó upload các files cần thiết lên server là xong
- Tạo một file deploy rake task như sau
lib/capistrano/tasks/deploy.rake
Ruby
namespace :deploy do
  namespace :assets do
    desc 'Precompile assets locally'
    task :local_precompile do
      run_locally do
        execute "rm -rf #{fetch(:cache_dir)}"
        execute "RAILS_ENV=#{fetch(:rails_env)} bundle exec rake assets:clean"
        execute "RAILS_ENV=#{fetch(:rails_env)} bundle exec rake assets:precompile"
      end
    end

    desc 'rsync assets to web server'
    task :rsync_assets do
      on roles(:web), in: :parallel do |server|
        run_locally do
          ssh_shell   = %(-e "ssh -i #{fetch(:ssh_options)[:keys].first}")
          rsync_shell = "rsync -avz #{ssh_shell}"
          release_dir = "username@public-ip-address:#{release_path}"
          commands    = []

          commands << "#{rsync_shell} ./#{fetch(:assets_dir)} #{release_dir}/#{fetch(:assets_dir)}" if Dir.exists?(fetch(:assets_dir))
          commands << "#{rsync_shell} ./#{fetch(:packs_dir)}  #{release_dir}/#{fetch(:packs_dir)}"  if Dir.exists?(fetch(:packs_dir))
          commands << "#{rsync_shell} ./#{fetch(:cache_dir)}  #{release_dir}/#{fetch(:cache_dir)}"  if Dir.exists?(fetch(:cache_dir))

          commands.each { |command| dry_run? ? SSHKit.config.output.info(command) : execute(command) }
        end
      end
    end
  end
end

namespace :load do
  task :defaults do
    set :assets_role, 'web'
    set :assets_dir,  'public/assets/'
    set :packs_dir,   'public/packs/'
    set :cache_dir,   'tmp/cache/'

    after 'deploy:migrate', 'deploy:assets:local_precompile'
    after 'deploy:assets:local_precompile', 'deploy:assets:rsync_assets'
  end
end- Rake task này có hai nhiệm vụ
- Precompile assets ở local
- Đồng bộ files lên server
- Server không cần phải thực hiện
yarn:installvàdeploy:assets:precompilemỗi khi deploy nữa
- Clean code khi dùng local precompile
Gemfile
Ruby
group :development do
  # Capistrano - easy to deployment with Ruby over SSH
  gem 'capistrano', '~> 3.18'
  # rbenv integration for Capistrano
  gem 'capistrano-rbenv', '~> 2.2'
  # Rails specific Capistrano tasks
  gem 'capistrano-rails', '~> 1.6', '>= 1.6.3'
  # Bundler support for Capistrano 3.x
  gem 'capistrano-bundler', '~> 2.1'
end
ShellScript
bundle installCapfile
Ruby
require "capistrano/rbenv"
set :rbenv_type, :user
set :rbenv_ruby, "2.7.0"
set :rbenv_map_bins, %w[rake gem bundle ruby rails]
set :rbenv_roles, :all

require "capistrano/bundler"
require "capistrano/rails/migrations"- Commit code và push lên Git Repository của bạn
ShellScript
cap production deploy- Quan sát
htopbạn sẽ không còn thấy sự ảnh hưởng đến workload của CPU và Memory trong quá trình deploy nữa
Lời kết
- Bài viết là một trong những giải pháp liên quan đến hiệu suất server mà team mình đã từng áp dụng trong thực tế
- Chúc các bạn thực hiện thành công và có những trải nghiệm tuyệt vời trên server yêu dấu của client nhé 😆


5 comments
Rất hữu ích, cảm ơn bạn
Thanks for sharing. I read many of your blog posts, cool, your blog is very good. https://www.binance.com/register?ref=IHJUI7TF
Your article helped me a lot, is there any more related content? Thanks!
Can you be more specific about the content of your article? After reading it, I still have some doubts. Hope you can help me.
Your article helped me a lot, is there any more related content? Thanks!