Giới thiệu
- Ruby on Rails là một framework phát triển ứng dụng web mạnh mẽ và phổ biến nhưng có những hạn chế về việc hỗ trợ các lĩnh vực như: trí tuệ nhân tạo (AI), machine learning, đồ hoạ… và nhiều thư viện đặc biệt khác. Tuy nhiên với sự đa dạng và sức mạnh của Python, chúng ta có thể dễ dàng giải quyết những thách thức này
- Rất may là Rails cho phép chúng ta tận dụng tốt cả hai thế giới, và bài viết này sẽ hướng dẫn bạn cách làm điều đó
Ứng dụng thực tế
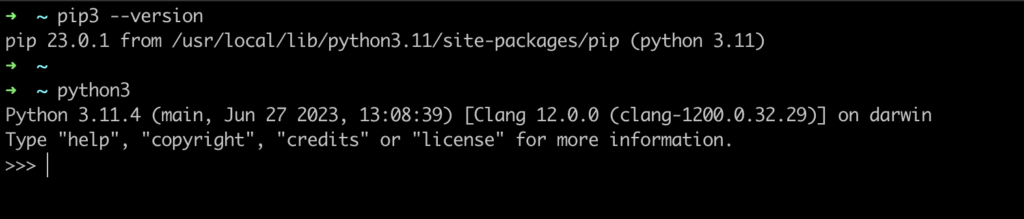
- Cài đặt
python3vàpython3-pipvào máy tính của bạn
- Add gem
pycallvào Rails App
gem 'pycall', '1.5.1'- Tiếp theo mình sẽ tạo hai tệp mã nguồn, một cho Ruby và một cho Python, để cho phép chúng tương tác với nhau thông qua gem pycall. Mình sẽ đặt các tệp này trong thư mục
"lib"
lib/python/image_generator.py
lib/image_generator.rb- Mình sẽ định nghĩa một phương thức trong tệp
"image_generator.py"và output “Hello world” để kiểm tra hoạt động
def hello_world():
print("Hello world!")- Kế tiếp là tệp “
image_generator.rb” để gọi python script
require 'pycall/import'

module ImageGenerator
  extend PyCall::Import

  pyimport 'sys'
  sys.path.append File.expand_path('../../lib/python', __FILE__)
  pyfrom 'image_generator', import: :hello_world

  class << self
    def run
      hello_world
    end
  end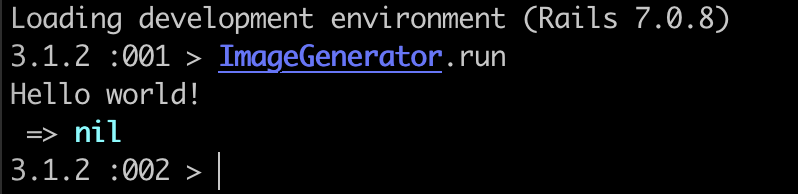
end- Test hoạt động bằng
rails console
- Sau đây mình sẽ ví một bài toán nan giải đối với Rails nhưng dễ dàng khi sử dụng Python’s libs: Tạo một hình ảnh có chứa biểu đồ
- Cài đặt các thư viện cần thiết
pip3 install pandas
pip3 install matplotlib- File
image_generator.py
import json
import matplotlib
from matplotlib import pyplot as plt
import pandas as pd

def hello_world():
    print("Hello world!")

def generate_chart_image(info, image_path):
    info = json.load(info)
    matplotlib.style.use('ggplot')

    categories = info.get('categories')
    series = info.get('series')

    if categories and series:
        mapped_data = {entry['name']: entry['values'] for entry in series}
        df = pd.DataFrame(mapped_data, index=categories)

        _, ax = plt.subplots(figsize=(20, 5))

        colors = [['#4c5fcb', '#2196f3'], ['#8bc34a', '#673ab7']]
        stacks = get_stacks_from_data(mapped_data)

        # Plotting the stacked bar chart
        df[stacks[0]].plot.bar(stacked=True, width=0.2, position=1.25, color=colors[0], ax=ax, alpha=1)
        df[stacks[1]].plot.bar(stacked=True, width=0.2, position=-0.25, color=colors[1], ax=ax, alpha=1)

        ax.tick_params(axis='x', rotation=0)
        legend = ax.legend(loc='upper center', ncol=2, bbox_to_anchor=(0.5, 1.15))
        legend.get_frame().set_facecolor('none')
        ax.set_xlim(left=-0.5)
        plt.savefig(image_path, dpi=300, bbox_inches='tight')
        print("Generate image successfully!")

def get_stacks_from_data(mapped_data={}):
    years = []

    for key in mapped_data:
        year, _ = key.split('・')
        years.append(year.strip())

    years = sorted(set(years))
    result = []

    for year in years:
        sub_list = [key for key in mapped_data if key.startswith(year)]
        result.append(sub_list)

return result- File
image_generator.rb
require 'pycall/import'

module ImageGenerator
  extend PyCall::Import

  pyimport 'sys'
  sys.path.append File.expand_path('../../lib/python', __FILE__)
  pyfrom 'image_generator', import: [:hello_world, :generate_chart_image]

  class << self
    def run
      hello_world
      info = {
        'categories': ["1", "2", "3", "4", "5", "6"],
        'series': [
          {'name': 'CurY.Google', 'values': [1000, 1998, 3323, 1838, 1111, 6666]},
          {'name': 'CurY.GoogleMap', 'values': [1997, 2461, 6232, 1838, 2222, 8888]},
          {'name': 'PrevY.Google', 'values': [1000, 1998, 3323, 1838, 1111, 6666]},
          {'name': 'PrevY.GoogleMap', 'values': [1997, 2461, 6232, 1838, 2222, 8888]}
        ]
      }.to_json
      image_path = 'tmp/chart_image.png'
      generate_chart_image(info, image_path)
    end
  end
end- Reload
rails consolevà test hoạt động
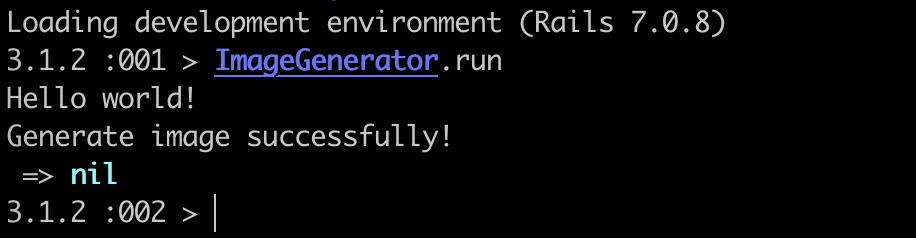
- Và đây là kết quả
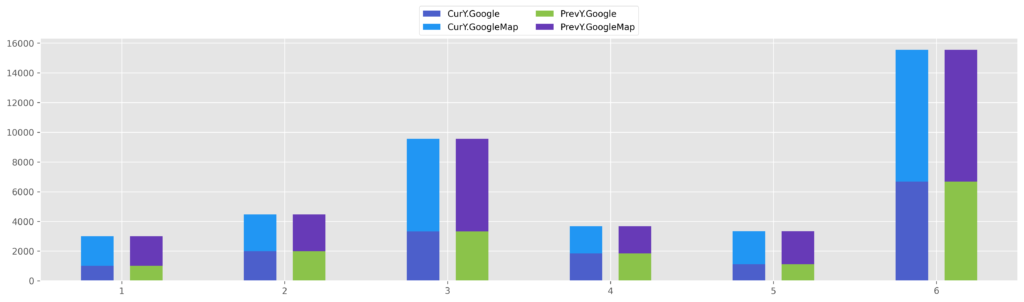
Kết luận
- Có thể thấy nhờ sự hỗ trợ của thư viện và vài dòng code Python đơn giản thì chúng ta đã tạo ra được một hình ảnh với chất lượng nét nèn nẹt
- Hi vọng bài viết của mình sẽ giúp ích được cho các bạn khi có một tính năng nào đó khó khăn và phải cần đến sự trợ giúp của Python